Embossing with Paper Sushi
Posted by Jennifer on 7th Apr 2014
Embossing is a fun way to add dimension and shine to your rubber stamp projects! The result is a raised, shiny, version of your normal two-dimensional stamp print. Embossing is also a lovely way to add sophistication to your stamped wedding stationery, as well as bringing your cards and tags to life!
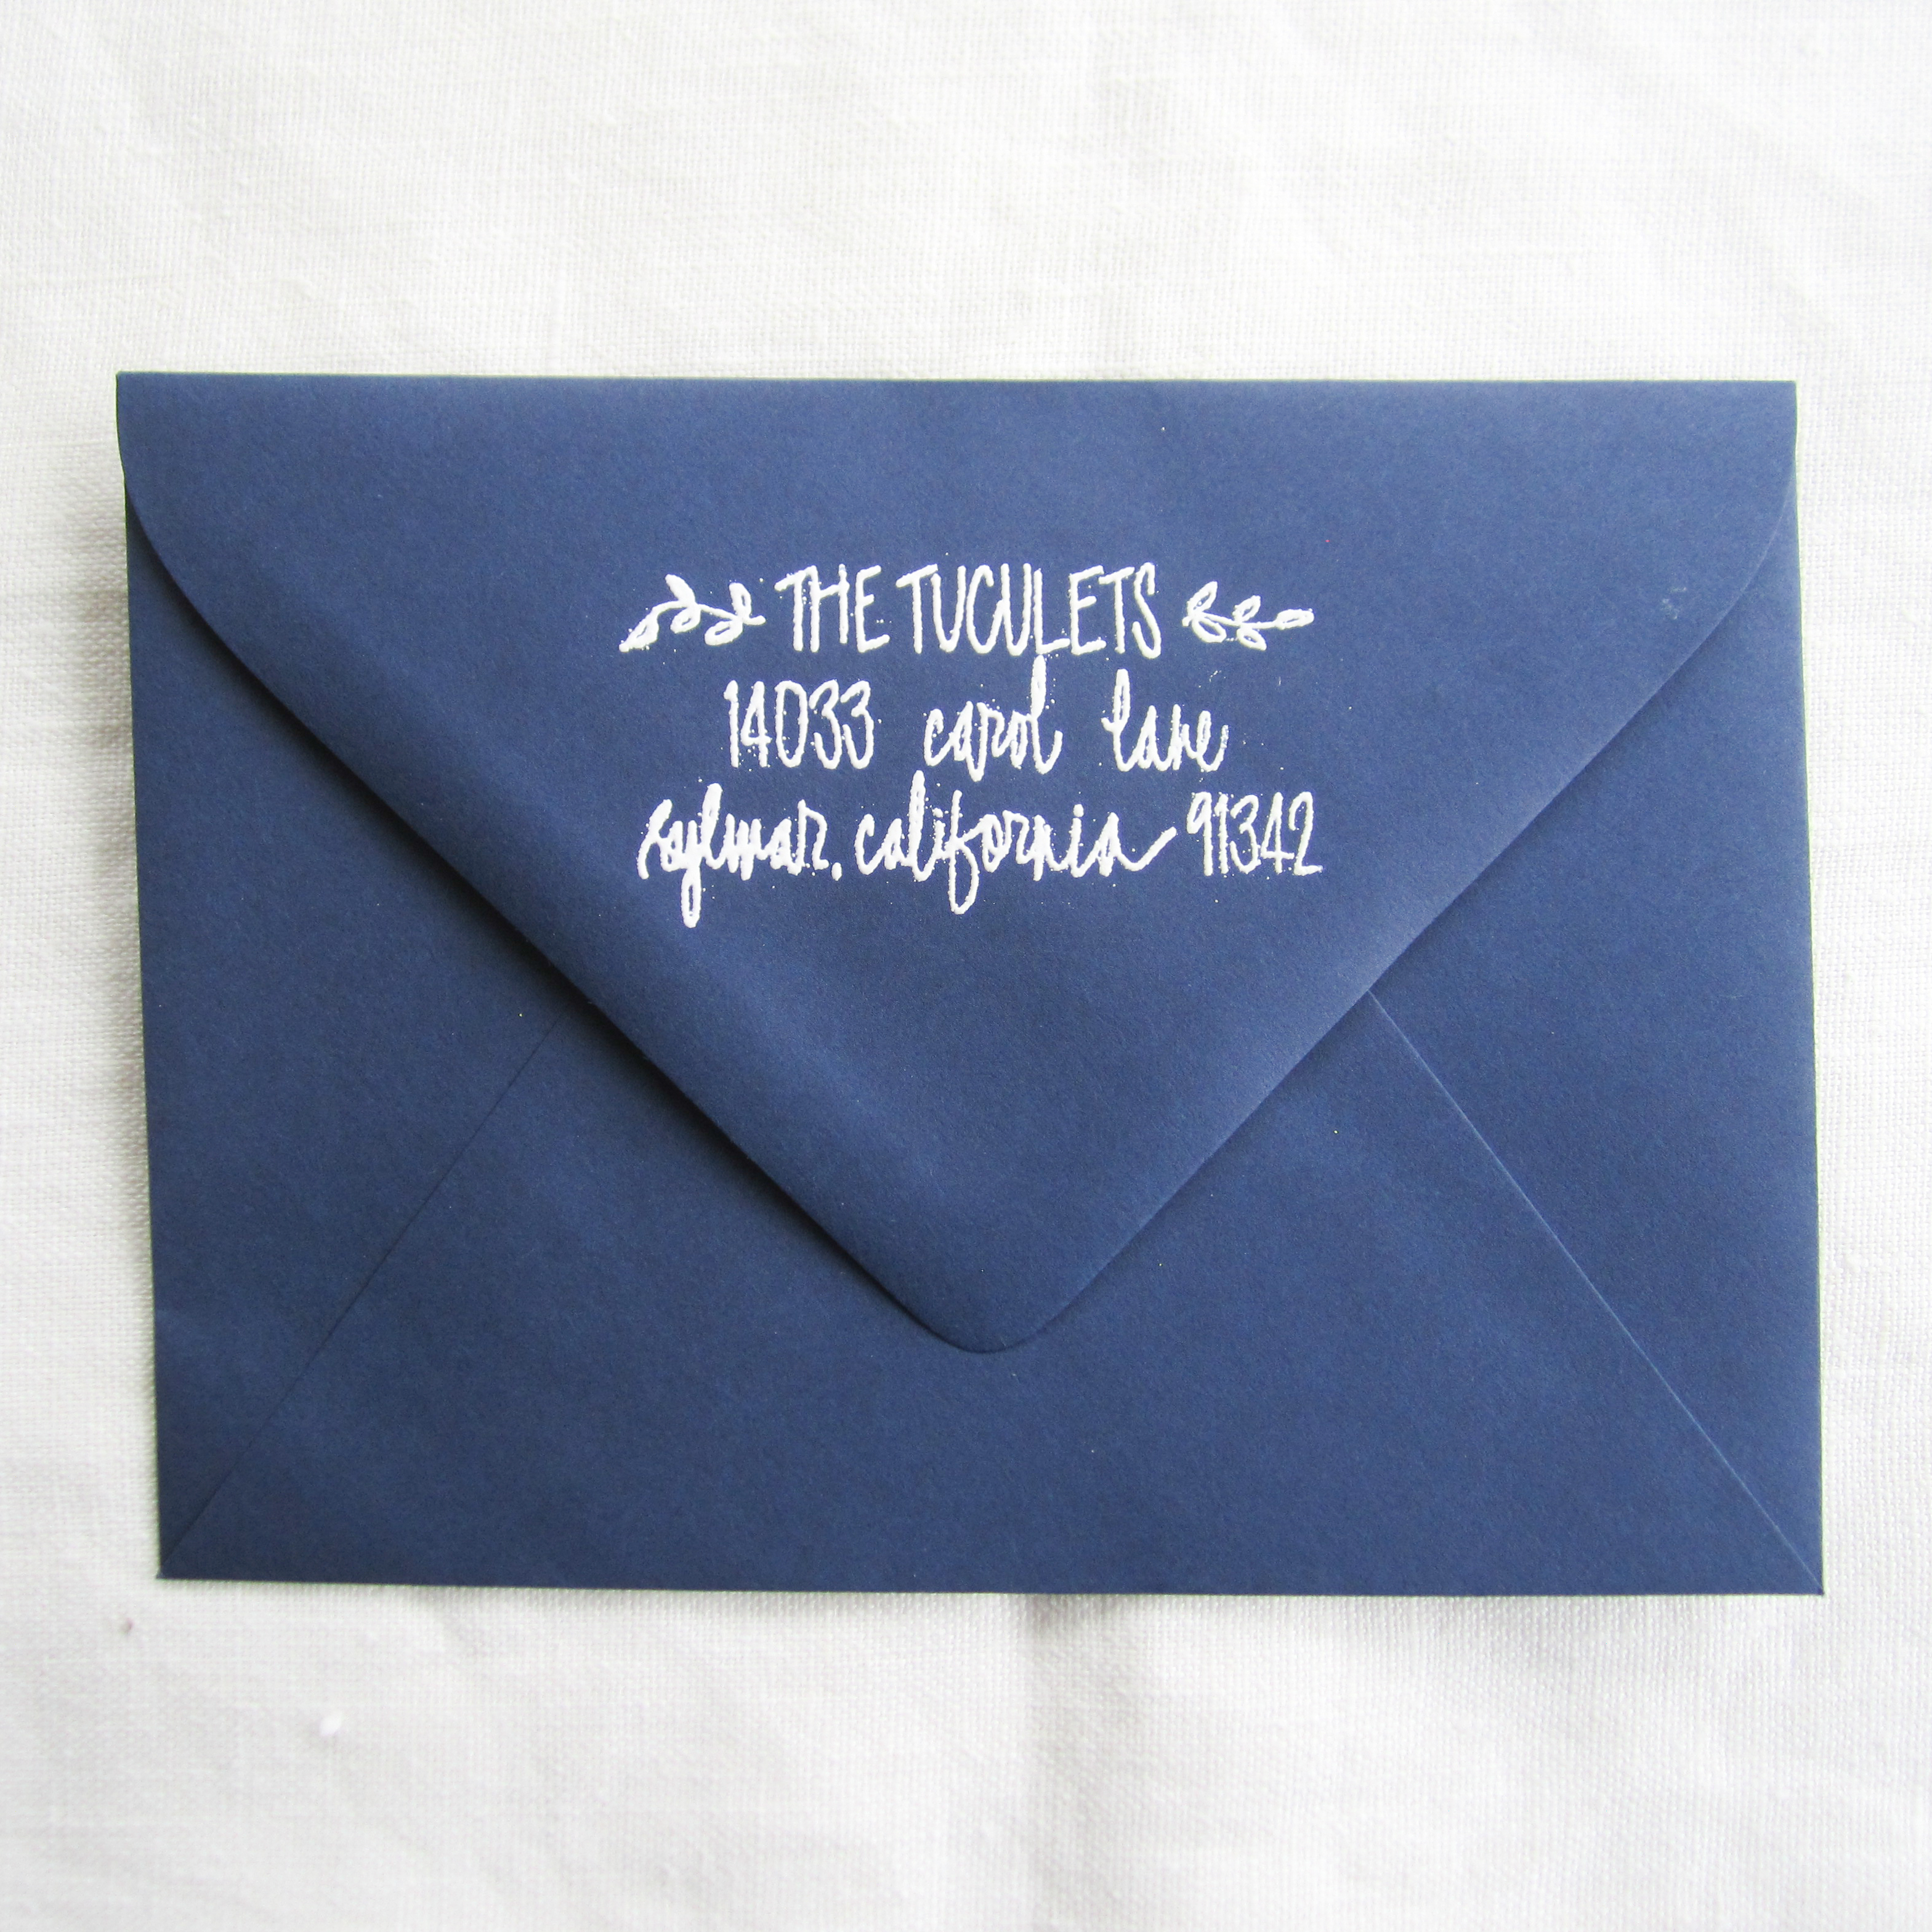
Beautifully sophisticated, right?
I offer both regular embossing powder and (UPDATE! We now offer super fine detail embossing powder also - more on that later!) in the shop, and now it's time to show you how to use it. I'll take you through the steps to make your stamp printing one-of-a-kind.
First, I'll show you how to use clear embossing powder, with colored pigment ink. Pigment inks are formulated to sit on top of the stamping surface and dry slowly enough to allow you time to distribute your powder.
Second, I'll show you how to use colored embossing powder with clear embossing ink. Through much experimentation, we've discovered that with clear embossing powder and colored pigment ink, the embossed image results in a more solid, shiny, polished raised impression of your stamp print. Using the clear embossing powder is a great way to highlight your beautiful pigment ink colors. With the clear embossing ink and colored embossing powder, we noticed that the result is a more vibrant color with lots of shine, but can be more spotty and bubbly-looking.
Typically, one embosses on paper. But, after a fun conversation with a customer, we turned to wood and discovered you can emboss even more surfaces!
Clear Embossing Powder
![]()
Stamp your surface with its respective stamp ink. Here we've used Versacraft, which is great for stamping on wood.
![]()
Pour a thin layer of embossing powder on top of the stamped image, covering all of the ink. We found that lightly pressing a dry, clean finger against the powder can help make more powder stick to the ink.
![]()
Tap off excess powder and pour back into your embossing powder container. Grab a dry paintbrush and wipe off any excess embossing powder. Excess powder can melt in the heating process, resulting in shiny, raised spots in areas you may not want to be embossed.
![]()
To heat set the embossing powder, we recommend using an embossing tool. Simply turn on your embossing tool and hold 3 inches over your stamp image, making swirling motions as to not burn the embossing powder. You can tell if it's melting if the powder turns into a liquid, forms into a solid image, and becomes super shiny. This might take 2-3 minutes. We found that the embossing tool heat sets a lot faster on paper, than on wood. Be patient! If your powder is burning, it'll start to bubble, spread out, and look spotty. Once your entire image is heat set, melted, shiny, and dry, it's all finished! Give them as gifts, use in your scapbook, decorate your walls, use as wedding invitations, etc.
![]()
Here is a completed embossed wood slice, made with clear embossing powder and black Versacraft stamp ink. It's so shiny!!!
Colored Embossing Powder
Clear embossing ink and colored embossing powder, makes a more vibrant color, but can burn easily and result in a spotty look. The process is the same as the clear embossing powder, however, it's always nice to go over the process again.
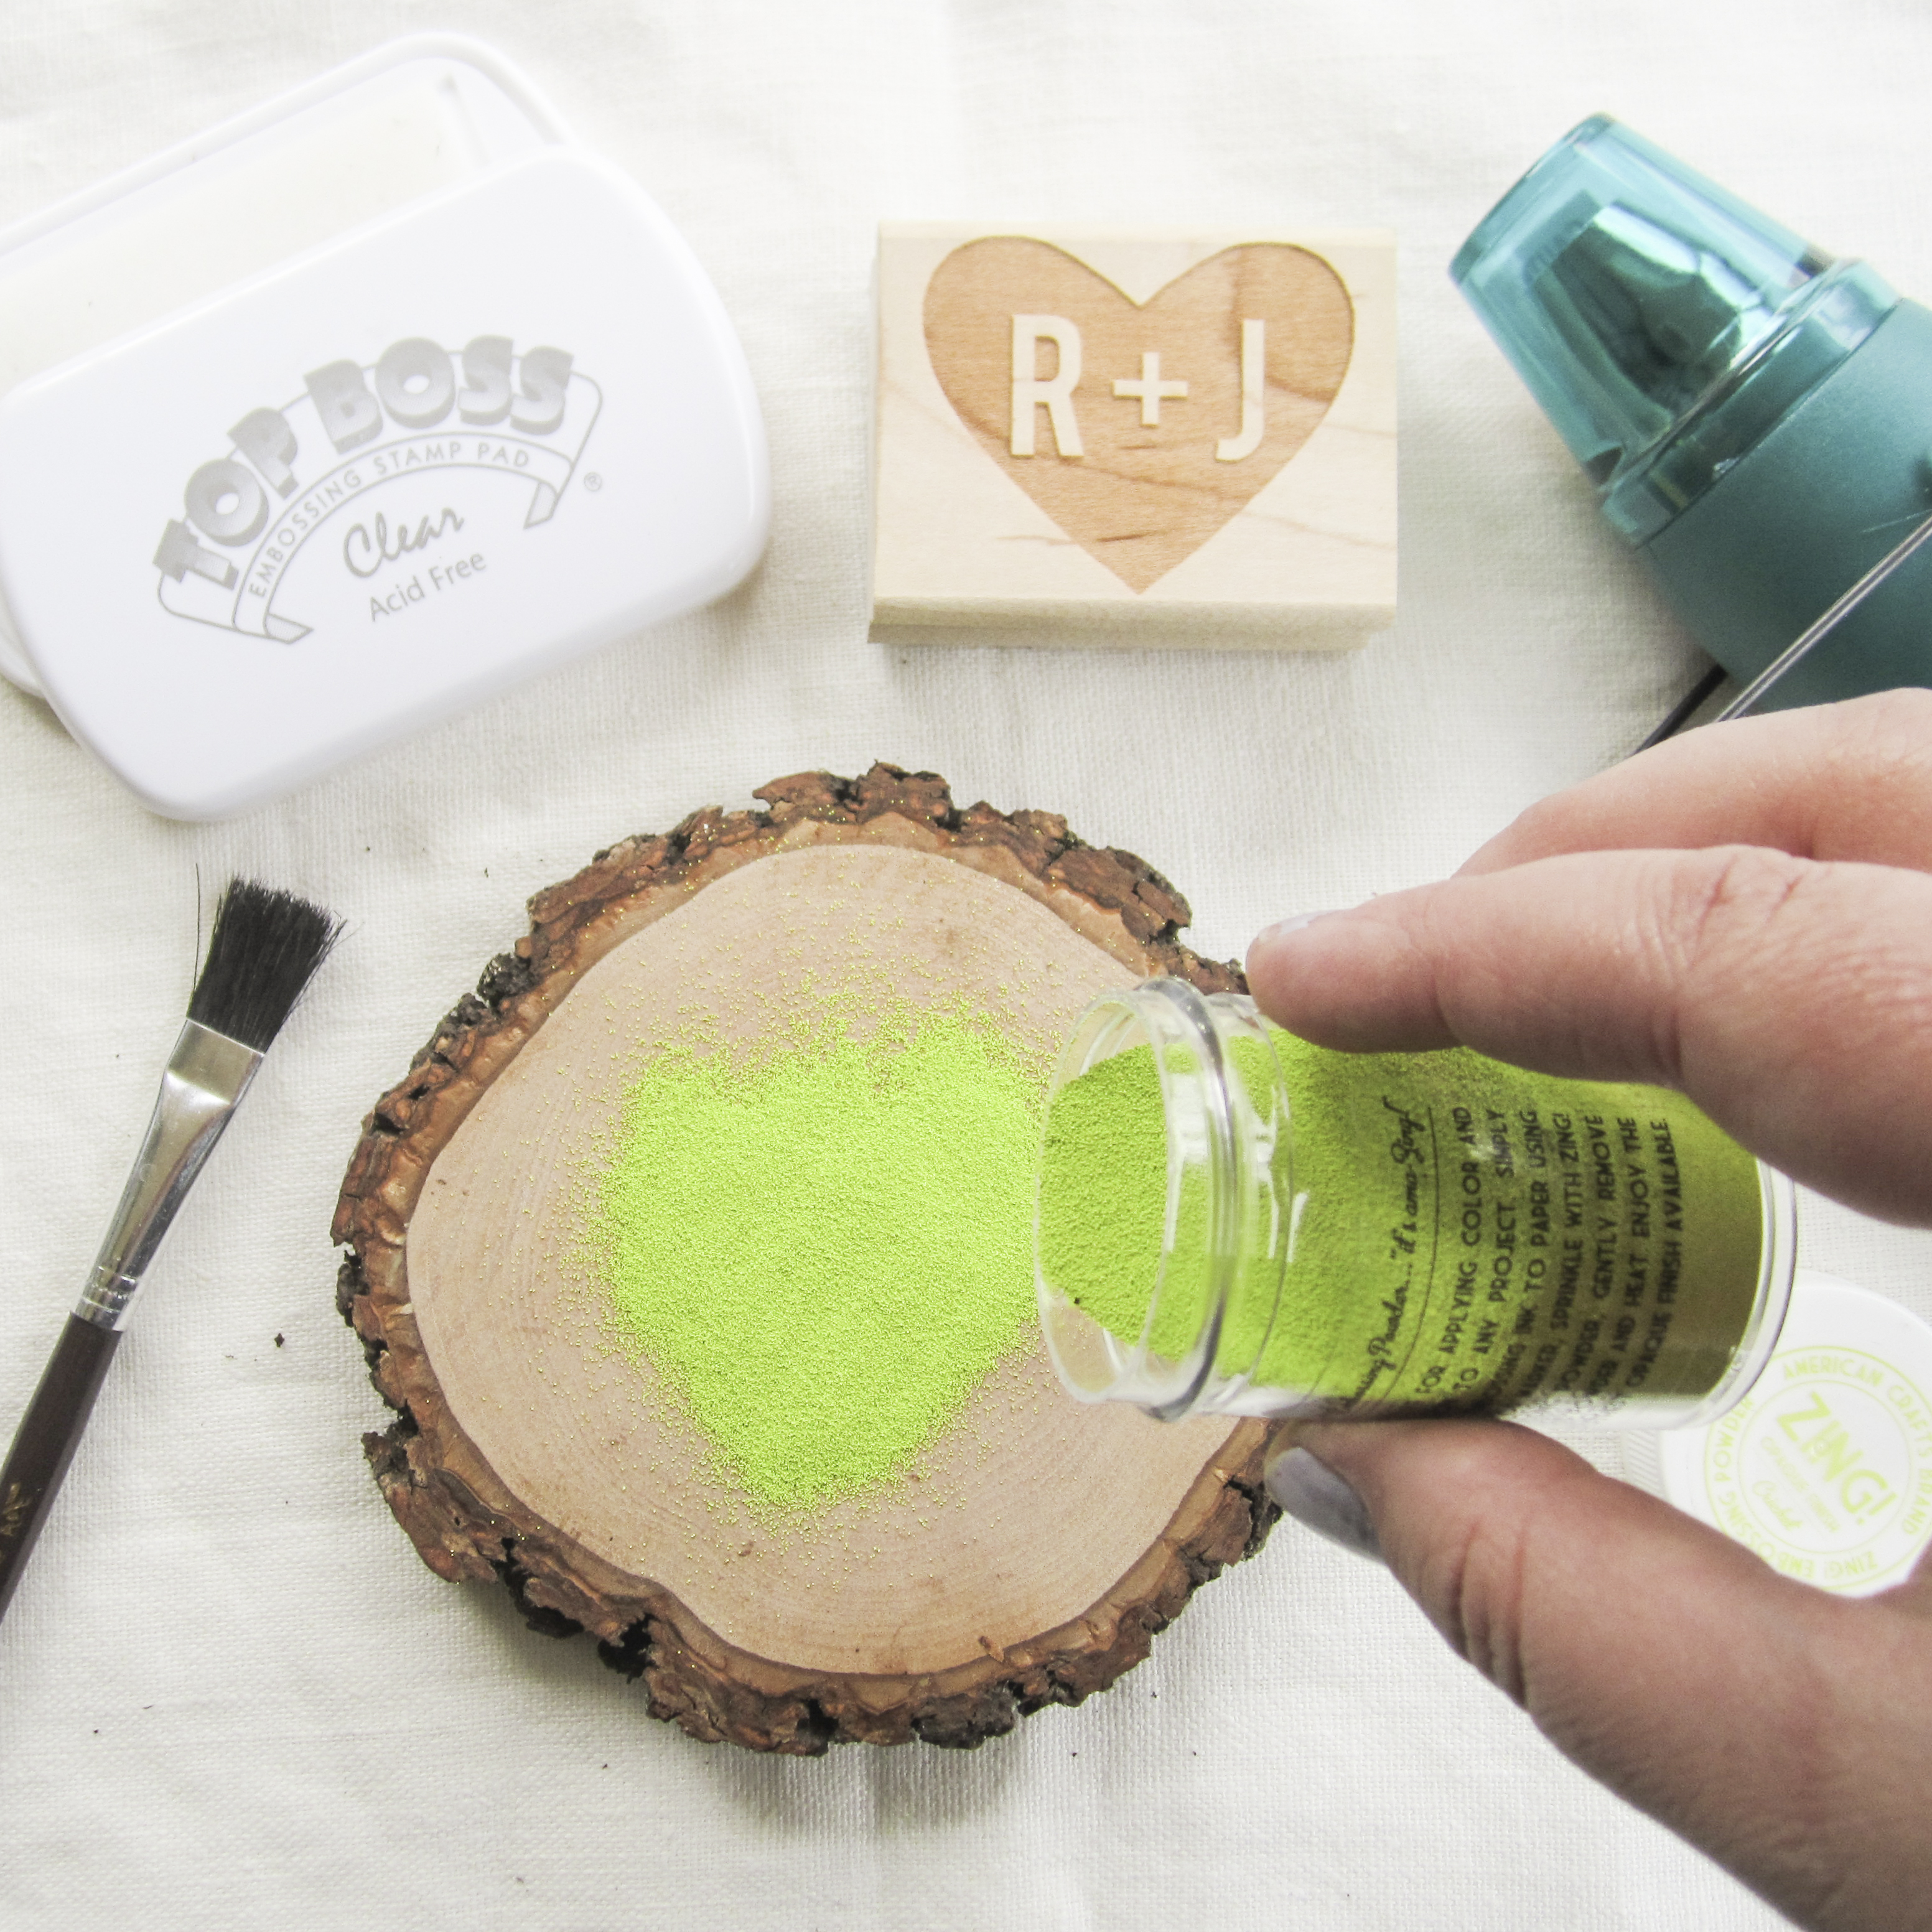
Stamp your surface with clear embossing stamp ink. Here, we've used Top Boss brand, which is great for all surfaces. Pour a thin layer of colored embossing powder on top of the stamped image, covering all of the clear ink. It may be difficult to see the clear ink, so we recommend using lots of light and moving the surface around at different angles, to make sure the entire image is covered. We found that lightly pressing a dry, clean finger against the colored powder, can help make more powder stick to the ink.
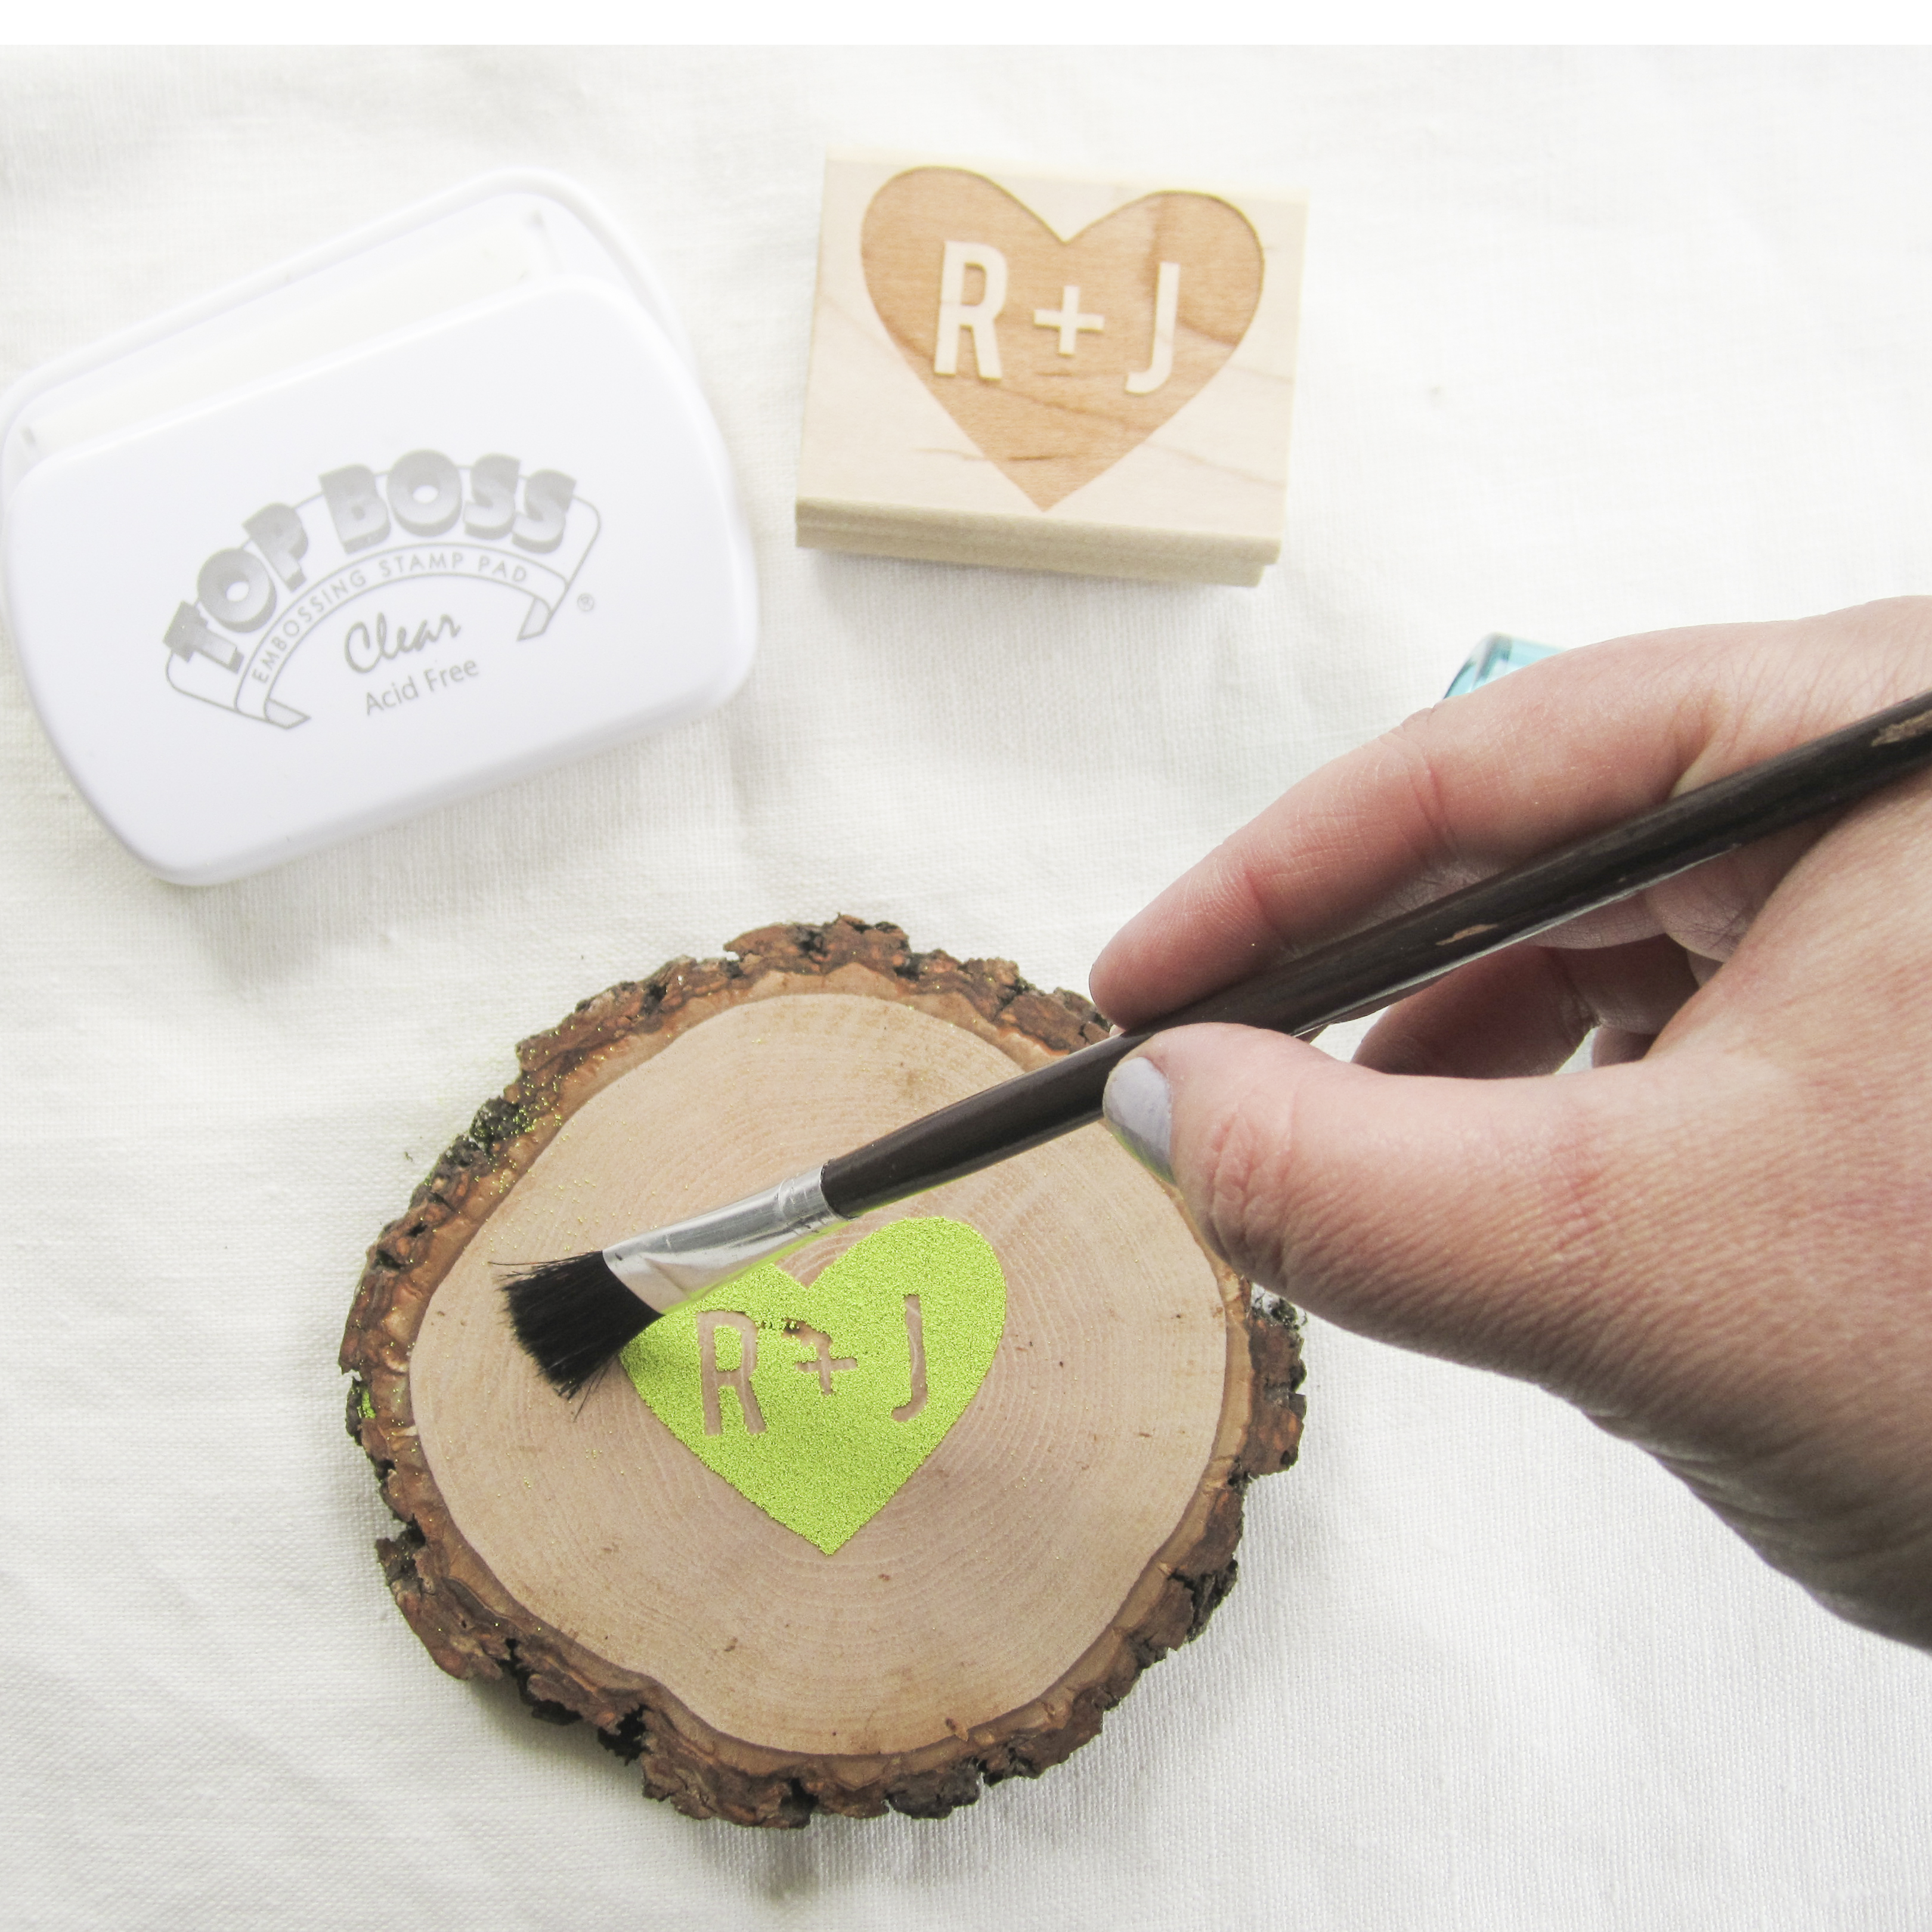
Tap off excess powder and pour back into your embossing powder container. Grab a dry paintbrush and wipe off any excess embossing powder. Excess powder can melt in the heating process, resulting in shiny, raised spots in areas you may not want to be embossed.

To heat set the embossing powder, we recommend using an embossing tool. Simply turn on your embossing tool and hold about 3 inches over your stamp image, making swirling motions as to not burn the embossing powder. You can tell if it's melting if the powder turns into a liquid, forms into a solid image, and becomes super shiny. This might take 2-3 minutes. We found that the embossing tool heat sets a lot faster on paper, than on wood. Be patient! If your powder is burning, it'll start to bubble, spread out, and look spotty. Once your entire image is heat set, melted, shiny, and dry, it's all finished!
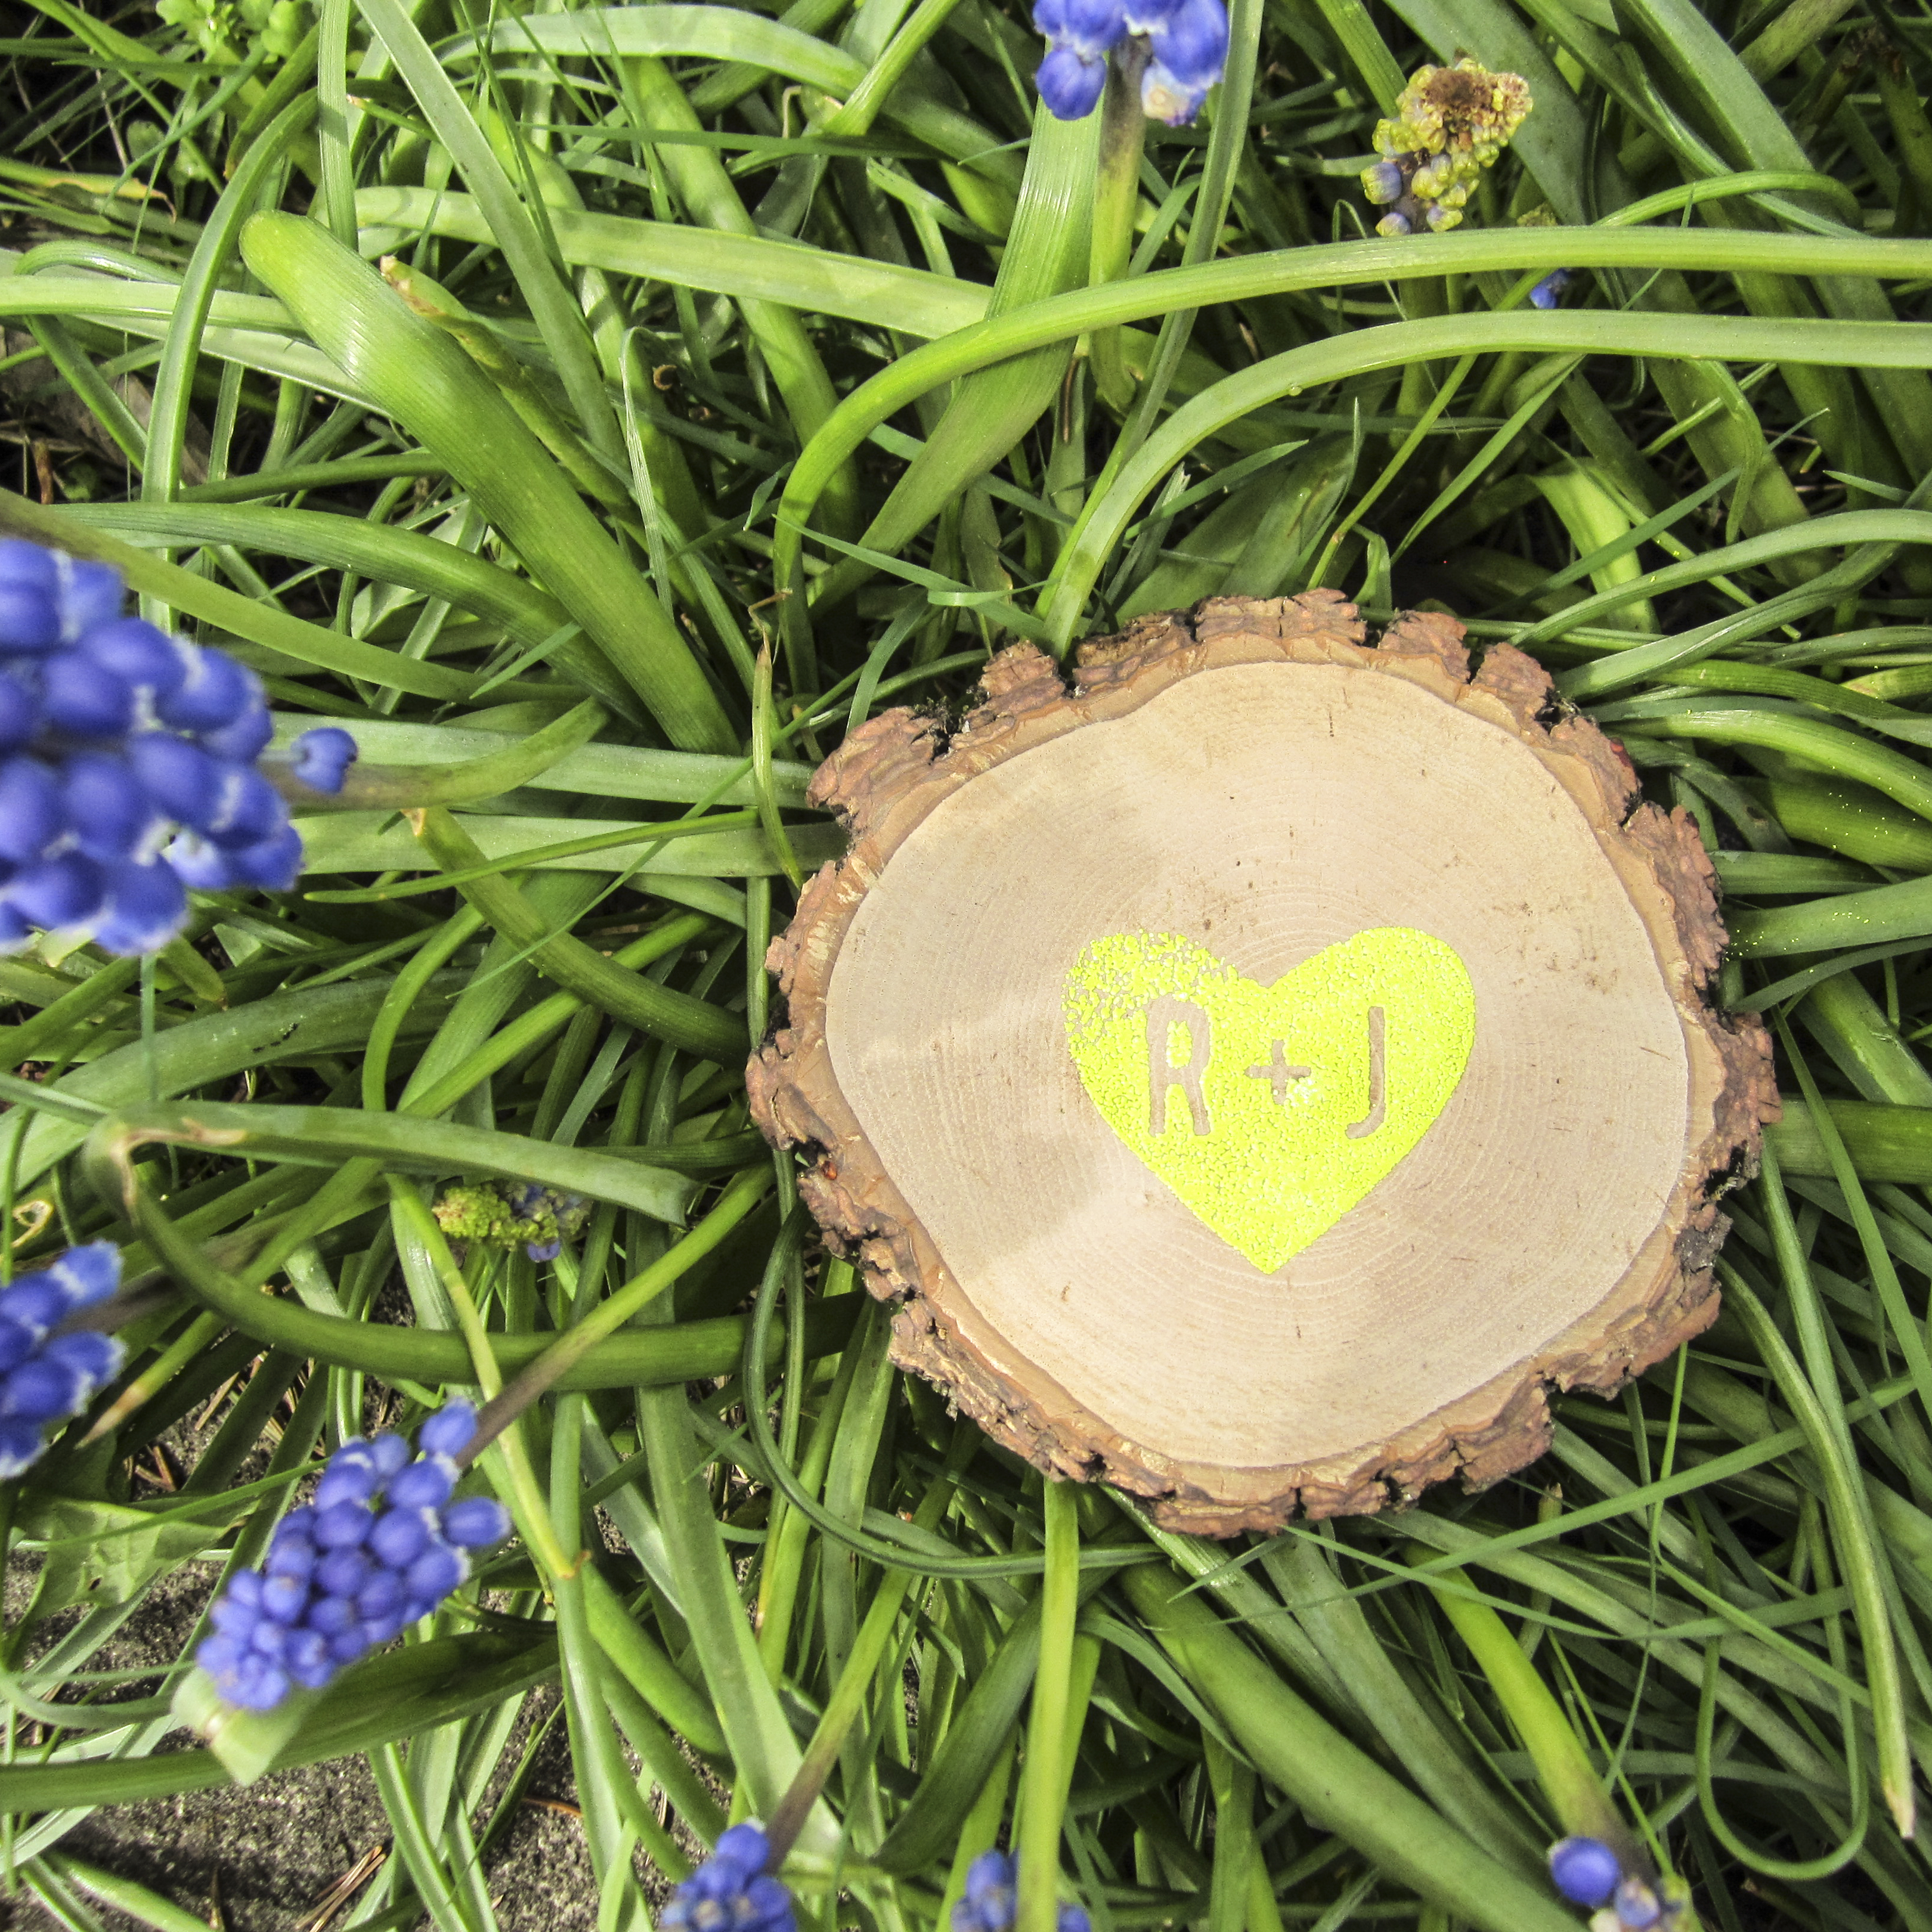
Here is a finished wood slice made with clear embossing ink and colored embossing powder. Perfect for a whimsical wedding invitation!